Last updated November 17, 2026
Home Addition Contractor Maintenance Checklist for Summerlin Homeowners
The most expensive home-addition repair bills in Summerlin start at the roofline where new construction meets old. Water gets in at that seam, quietly, and by the time a ceiling stain appears you’re looking at drywall, insulation, and possibly framing. The frustrating part: that failure point was almost always visible and fixable for free during your first year under warranty, if you knew where to look. Most homeowners don’t, and most post-build checklists never mention it. This guide gives you the exact inspection sequence to run yourself over your first twelve months, before your one-year workmanship warranty closes, so the problems you find get fixed on the builder’s dime instead of yours. Summerlin’s heat makes the timing matter more than it does almost anywhere else.
Quick Answer
Run a self-inspection of your addition at the roofline flashing, stucco expansion joints, and HVAC tie-in at four points: month 3, month 6, month 9, and month 11. The month 11 walkthrough matters most, because it’s your last chance to document defects while the one-year workmanship warranty still applies. In Summerlin, pay special attention to caulk and sealant at old-meets-new seams, which fail faster here than product labels predict because of 110°F summer heat and intense UV.
Table of Contents
- Why Summerlin Additions Age Differently
- Step 1: Inspect the Roofline and Flashings
- Step 2: Check Stucco Seams and Expansion Joints
- Step 3: Test the HVAC Load on Your Existing System
- Step 4: Watch for Foundation and Slab Movement
- The Month-by-Month Sign-Off Checklist
- The 11-Month Warranty Walkthrough
- Common Mistakes to Avoid
Why Summerlin Additions Age Differently
A home addition built in Summerlin faces a climate that stress-tests building materials in ways most manufacturer warranty documents don’t fully account for. Summer daytime temperatures regularly push past 110°F, and the swing down to the 70s and low 80s at night, especially in spring and fall, works on every joint and seal in the assembly. Materials expand and contract daily. Caulk stretches and relaxes. Stucco at a seam does the same, and over a single summer that movement can pull a fresh joint open by a hairline crack you can’t see from the ground.
Then there’s the monsoon. July through September brings blowing dust and short, violent rain events that drive water sideways against walls more than rain does in wetter climates. In a traditional wet climate, the building dries out over a long season. Here, water finds a small opening, hangs around in the assembly, and then the heat bakes the wall from the outside. That combination of a wet interior and a hot exterior is worse than either one alone.
Summerlin’s soil is the third factor. Large parts of the community sit on caliche, a cemented calcium-carbonate layer that’s common across the Las Vegas valley. Caliche doesn’t drain the way typical soil does, and when it holds moisture against a foundation or a slab edge, movement follows. Most of what we’re describing is normal. It’s predictable, and it’s why the checklist below is organized by what to look at when, not by vague “annual maintenance” language.
Step 1: Inspect the Roofline and Flashings
The connection where your new roof meets the existing house is the number-one place water gets in on a Summerlin addition, in our experience. Metal flashing is supposed to shed water across that seam, and sealant backs it up. When sealant fails first, water gets behind the flashing before it ever shows inside. Check it twice a year, in spring after the cool season and in late fall after monsoon season.
- Look at the flashing itself. From a safe vantage point, look for lifting, gaps, or daylight showing between the flashing and the roof surface. If you can’t see it clearly from the ground, that’s a job for binoculars or a professional, not a ladder. Roof work at height is genuinely dangerous and not a homeowner task.
- Check the sealant line. Look for cracks, peeling, or a gap at the top edge of the flashing where it meets the existing wall. This is the spot that dries out first in Summerlin heat.
- Look for staining. Water stains on the existing stucco below the roofline, on a ceiling below the addition, or at the base of a wall are all signs water is getting behind the flashing. Take a dated photo, even if the stain is faint.
- Check the roof drain path. Confirm water actually flows away from the seam and into a scupper or downspout, not pooling against the addition wall.
Why this is on the guide: water intrusion at the old-meets-new roofline is the repair we’re asked to diagnose most often on Summerlin additions after year one. In almost every case, a homeowner who’d walked that seam at month eleven would have caught it under the workmanship warranty. Our Home Addition Contractor in Summerlin team can confirm whether a seam is a warranty item or a new repair.
Step 2: Check Stucco Seams and Expansion Joints
Stucco is a cement-based exterior finish. It doesn’t move much on its own, but the addition and the original house move independently, so builders install control joints, also called expansion joints, at the seams between old and new walls. Those joints are filled with sealant that absorbs the movement. In most climates that sealant lasts the manufacturer’s stated five to ten years before it needs replacement. In Summerlin, UV exposure and heat shorten that lifespan, and in our experience seam sealant at an addition often needs attention within two to three summers, not five to ten.
Here’s what to check every six months:
- Cracking at the sealant joint: Look for a vertical crack in a bead of caulk at a wall seam. If it opens up at the top more than the bottom, or the sealant has peeled away from one side, that joint is no longer keeping water out.
- Hairline cracks in the stucco field: Tiny spiderweb cracks are common and usually cosmetic. Cracks wider than a credit card edge, or cracks running diagonally from a corner of a window or door, are worth a professional look.
- Chalky or powdery stucco: A white chalky residue that wipes off on your hand is called efflorescence. Sometimes it’s simply mineral deposits, but it can also indicate water getting behind the stucco. Note where it appears and mention it during your warranty walkthrough.
- Paint fading or peeling at the seam: UV hits a vertical seam hard in Summerlin, and paint failure there often signals the sealant underneath is also failing.
If you’re still deciding how to add the space, our guide to ADU Builders in Summerlin explains why a detached unit on a Summerlin lot can sidestep some of the stucco-seam issues an attached addition has, simply because there’s no shared wall to manage.
Step 3: Test the HVAC Load on Your Existing System
An addition adds square footage that the original HVAC system was never sized to serve. Sometimes the builder extends the existing system with new ductwork. Sometimes a separate mini-split handles the new space. Either way, the first summer is when you’ll find out whether the load balances. Watch for these signs that the new square footage is straining the existing system:
- Rooms running a few degrees warm on 110°F days. A small difference is normal, but if a bedroom in the addition is consistently 5°F or more hotter than the rest of the house at 3 PM in July, the system isn’t keeping up.
- Longer run times. Note how long your AC runs to bring the house back to temperature after a hot afternoon. If it now runs far longer than before the addition, the load has grown beyond the system’s happy range.
- Rooms in the original house feeling warmer than they used to. When a system is overloaded by new square footage, the original rooms suffer first.
- Uneven airflow. If a duct serving the addition has weak airflow, the system is fighting a poor layout, not just a big load.
- Higher power bills than expected. Compare a summer month after the addition to the same month the year before, adjusted for the added space. A jump far beyond what you expected is worth a service call.
These are observations to make, not repairs to attempt. HVAC work requires a licensed technician, and refrigerant handling is regulated. Bring your notes to the warranty walkthrough. If the existing system needs rebalancing or a separate unit needs adjusting, that’s a conversation to have while it’s still the builder’s responsibility. Need to talk it through sooner? Sutton ADU Builders Summerlin home has a live person answering every call, day or night.
Step 4: Watch for Foundation and Slab Movement
Concrete moves. On Summerlin’s caliche-heavy soil, it can move a little more than the flat-rate assumptions in a generic checklist expect. During your first two monsoon seasons, keep an eye on these markers:
- New cracks in the slab or patio. Hairline cracks appear in almost every slab and are rarely a problem. Cracks wider than a sixteenth of an inch, or cracks that step vertically from one side to the other, are worth noting.
- Doors and windows that stick. A door in the addition that won’t close the way it did when new, or a window that suddenly won’t latch, is a sign the wall or slab beneath it has shifted.
- Gaps at the base of exterior walls. Run a hand along the wall where it meets the ground. A gap or a soft spot means water is getting in and the surface has lifted.
- Drainage away from the addition. After a monsoon storm, look for standing water against the slab edge. Grading that slopes toward the addition is a fixable problem, but it needs to be fixed.
- Drywall cracks at the corners. A diagonal crack at the top corner of a window or door frame inside the addition can be cosmetic or can signal settlement. Take photos, note the date, and compare at month eleven to see if it’s growing.
Foundation problems are rare on a properly engineered addition, and most of what you’ll see is normal seasonal movement. But the first two monsoon seasons are the window when any real settlement shows itself, and the workmanship warranty is the window when it gets corrected. If you’re planning anything larger than a single room, our Room Addition Contractor in Summerlin page covers how we approach site work and foundation questions up front.
The Month-by-Month Sign-Off Checklist
Here’s the schedule we recommend, organized by month so you know what to do when. Each item has a simple pass or fail call you can make without a contractor’s eye.
Month 3 (First Full Summer in the Addition)
- HVAC load test: Record the room temperature in the addition at 3 PM on a 105°F+ day. Pass: within 3°F of the rest of the house. Fail: 5°F or more hotter.
- Stucco seam check: Look at the control joint between old and new walls. Pass: sealant intact. Fail: any visible gap, crack, or peeling.
- Interior drywall: Walk every wall of the addition looking for new cracks. Pass: none, or hairline cracks smaller than a sixteenth of an inch. Fail: anything wider, or any diagonal crack at a corner.
Month 6 (End of Monsoon Season)
- Roofline flashing: Check for staining below the seam and lifting at the flashing. Pass: no stains, no gaps. Fail: any staining, gap, or daylight showing.
- Grading and drainage: After a storm, check for standing water against the addition. Pass: water drains away within a day. Fail: pooling against the wall or slab.
- Doors and windows: Open and close every one in the addition. Pass: all latch and close with normal effort. Fail: any sticking, rubbing, or that won’t latch.
Month 9 (Cool-Season Shift)
- Stucco field: Walk the exterior and note any new cracks or chalky residue. Pass: no new cracks, or only hairlines. Fail: cracks wider than a credit card edge.
- Caulk at wall seams: Check every sealant line. Pass: no gaps. Fail: any separated or peeling.
- HVAC service: Have a technician change the filter and check airflow to the addition. Pass: service report with no issues. Fail: technician flags low airflow or load issues.
Month 11 (Warranty Walkthrough)
- Full walkthrough of every item above with dated photos and a written list. Send it to the builder in writing with a request for a repair visit before the warranty closes.
Print the list above, or write it in a notebook, and keep it in a folder with your project paperwork. A written record with dates is what turns a soft verbal complaint into a documented warranty request. If your warranty is with us, our written price and the 365-Day Done Right Promise are already on file for your project, covering defects in workmanship for one full calendar year from completion. A detached ADU is covered under the same promise.
The 11-Month Warranty Walkthrough
The last month of your one-year workmanship warranty is the single most valuable inspection you’ll ever do on the addition. You run it in the same order every time: roofline and flashings first, then exterior stucco seams and sealant, then interior walls and ceilings, then doors and windows, then HVAC performance, then the slab and grading. At each stop, compare the current condition to the photos you took at move-in and to the notes from months three, six, and nine.
For each item that fails, record three things: a close photo, the date, and a one-sentence description of the problem. Then send the whole list to your builder in an email, in writing, with a request for a warranty service visit. The written record is what protects you: a text message or a phone call may get the job done, but an email with photos is what you’ll want if there’s ever a dispute.
What a good builder should do: schedule the visit, correct the workmanship defects at no charge, and confirm the fixes in writing. What a good builder should not do: claim that water intrusion at a flashing seam is “normal wear” or that a cracked control joint is “your fault for living in the desert.” It isn’t. If the workmanship isn’t right within one full year, the 365-Day Done Right Promise requires us to make it right. If a repair fails after the warranty, our free second visit approach covers the rework. Most of the additions we work on are in Summerlin and the surrounding valley, so this checklist reflects what we actually see on Summerlin projects, not what a national warranty template predicts.
Common Mistakes to Avoid
- Waiting for a problem before inspecting. In Summerlin, sealant failures are visible at month three and water intrusion follows within weeks. If you wait for a ceiling stain, you’ve already missed the cheapest possible window to catch it.
- Skipping the 11-month walkthrough completely. This is the single biggest miss. Homeowners who wait until month thirteen discover they’re paying for repairs that a documented walkthrough would have covered under warranty.
- Relying on verbal complaints. A phone call saying “the roof drips a little” is not a warranty request. Put it in writing, with photos and dates.
- Assuming the original HVAC will “just keep up.” Adding 400 square feet to a house in Summerlin is a real load change. The first summer’s temperatures will tell you whether the existing system was properly sized for the addition.
- Climbing on the roof yourself. Roof work at any pitch is genuinely dangerous, and Summerlin’s summer heat turns a routine inspection into a heat-exposure risk. Use binoculars from the ground or call a professional.
- Ignoring hairline cracks, then over-reacting to them. Some cracks are cosmetic. The ones that matter are the ones that grow. Date every crack you spot so you can compare it at the next inspection.
- Not re-grading the soil around the addition. Summerlin’s monsoon storms move soil. If your grade now slopes toward the addition, water has a direct path in, and it’s a five-minute fix to correct.
When to Call a Professional
Some of this checklist is doable from the ground with your eyes and a phone camera. Some of it isn’t. Call a professional when: water is showing up inside at a ceiling or wall; flashing or roof sealant is visibly failing; a door or window in the addition has stopped closing properly; you spot cracks that are visibly wider than a sixteenth of an inch or that have grown between inspections; the addition stays 5°F or more hotter than the rest of the house on hot afternoons; or standing water pools against the addition after a storm. These are the cases where a small, free warranty repair can turn into a five-figure structural repair if you wait. Sutton ADU Builders Summerlin offers free estimates in Summerlin, and we’ll tell you straight whether the issue is a workmanship defect covered under warranty or a repair you’d be paying for regardless. Our technicians have up to 20 years of experience, and every one is background-checked, identity-verified, and photo-badged; you’ll know whose name is coming to your door before they arrive.
Frequently Asked Questions
Four times in the first year: month 3, month 6, month 9, and month 11. After that, twice a year is enough, once in spring and once in late fall after monsoon season. The first year matters most because the workmanship warranty is still open. Call (833) 355-2818 for a free estimate if anything on your walkthrough looks wrong.
Because Summerlin’s UV index and 110°F summer days break down exterior sealants faster than the five-to-ten-year lifespan most product labels assume. On old-meets-new wall seams, in our experience, expect to recheck sealant every two to three summers. Call (833) 355-2818 to have a professional look at a failing seam before it becomes a water intrusion issue.
The roofline flashing where the new roof meets the existing house, and specifically the sealant line at the top edge of the flashing. That sealant ages faster than the metal and is usually the failure that lets water behind the flashing in the first place. Take a dated photo at the first sign of staining and call (833) 355-2818 to arrange an inspection.
Watch room temperature on hot days. If the addition stays within 3°F of the rest of the house at 3 PM in July, the system is balancing fine. If it runs 5°F or more hotter, the load isn’t being met, and that’s worth a professional HVAC assessment. Call (833) 355-2818 for a free estimate on what rebalancing or supplemental cooling would take.
Yes, if the failure is a defect in workmanship within the first full calendar year from completion. Stucco at an old-meets-new control joint that fails early is exactly the kind of item the promise covers: if the work isn’t right within a full year, Sutton makes it right. Our written guarantee is on file for every project and covers defects in workmanship for the full twelve months. Call (833) 355-2818 to start a warranty claim, or to talk through what’s covered.
Usually yes on both counts, since assessed square footage and replacement cost both go up. Your assessor and insurance carrier will need the finished square footage and the project documentation. We include the final project details in our written records so you have what both need. Call (833) 355-2818 for a free estimate and to talk through what paperwork you’ll receive at completion.
The Bottom Line
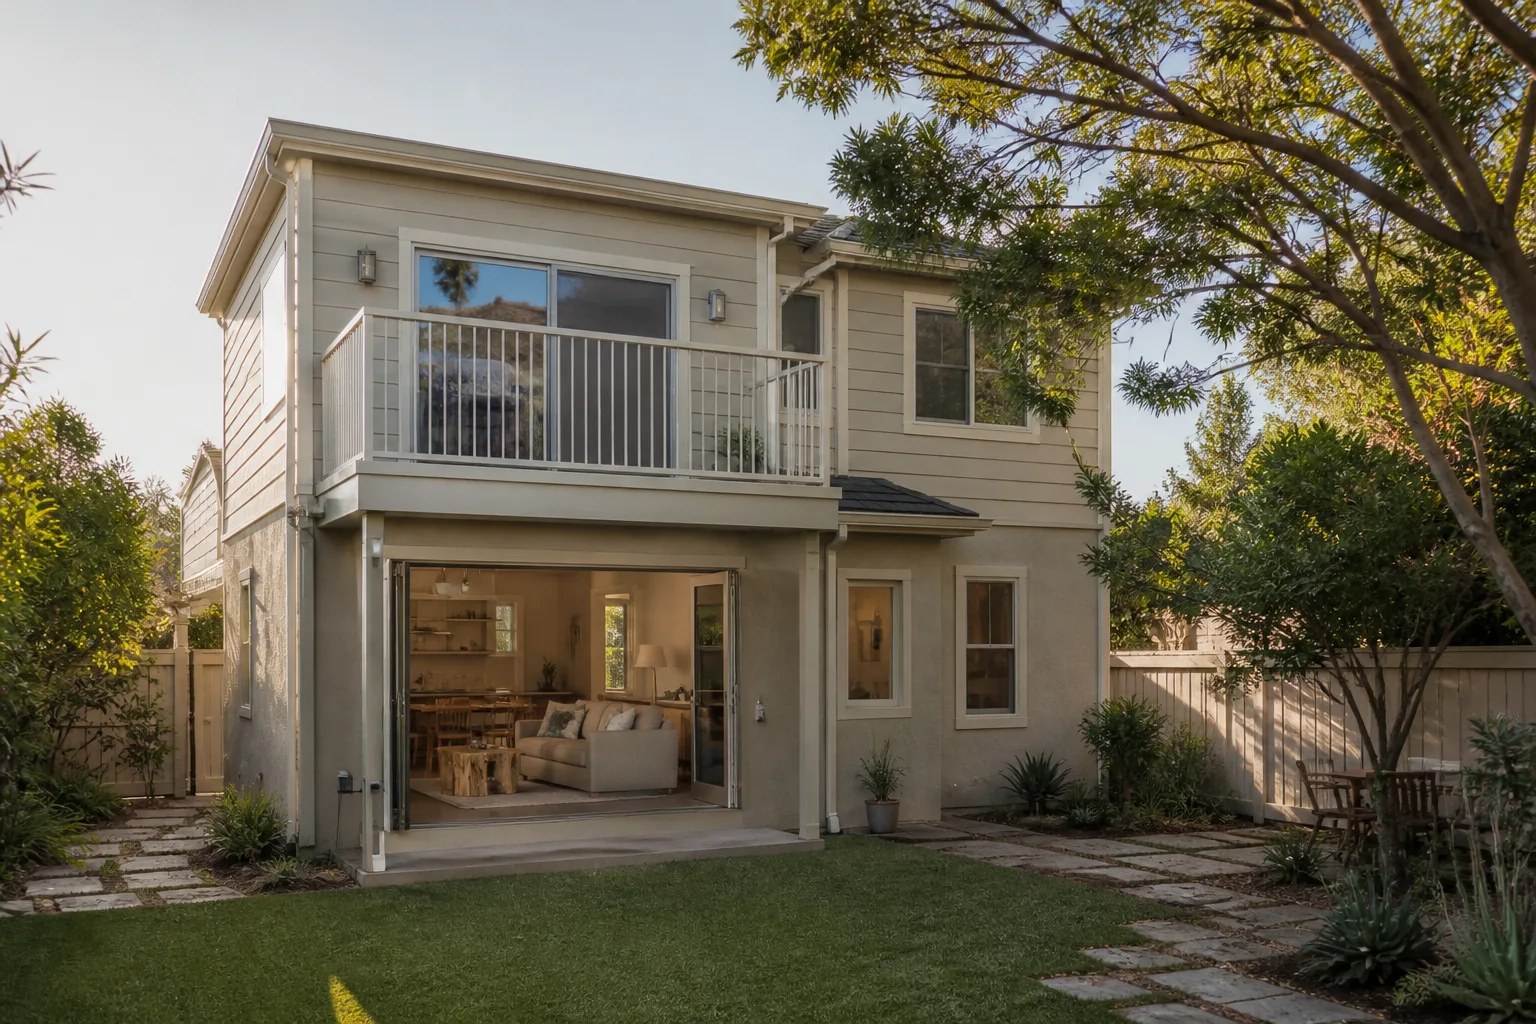
The checklist on this page works because it’s organized around what actually fails in a Summerlin addition and when: roofline flashing and sealant at month three, three, six, and nine; stucco control joints every six months; HVAC load tests through the first summer; and a full documented walkthrough at month eleven, before your workmanship warranty closes. The free repairs are the ones you catch on time. The expensive repairs are the ones you miss. Print the month-by-month list, keep dated photos, and put every issue in writing. If you’d rather have a professional run the walkthrough with you, Sutton ADU Builders Summerlin is here to help.
Whether you already own an addition or you’re thinking about building one, our team works with homeowners across Summerlin and the surrounding valley. We build detached ADUs, garage conversions, and room additions, and we work with prefab and modular lines including Cover, Dvele, and Mighty Buildings so you can see the real cost range on your lot before you commit. Call (833) 355-2818 for a free estimate. Every project comes with a written price before work begins, a 365-Day Done Right Promise, and the Threshold Verified standard for the crew that shows up at your door.
Written by the team at Sutton ADU Builders Summerlin.